Translate

Showing posts with label preserving. Show all posts

Saturday, June 9, 2012

Keep the bounty.


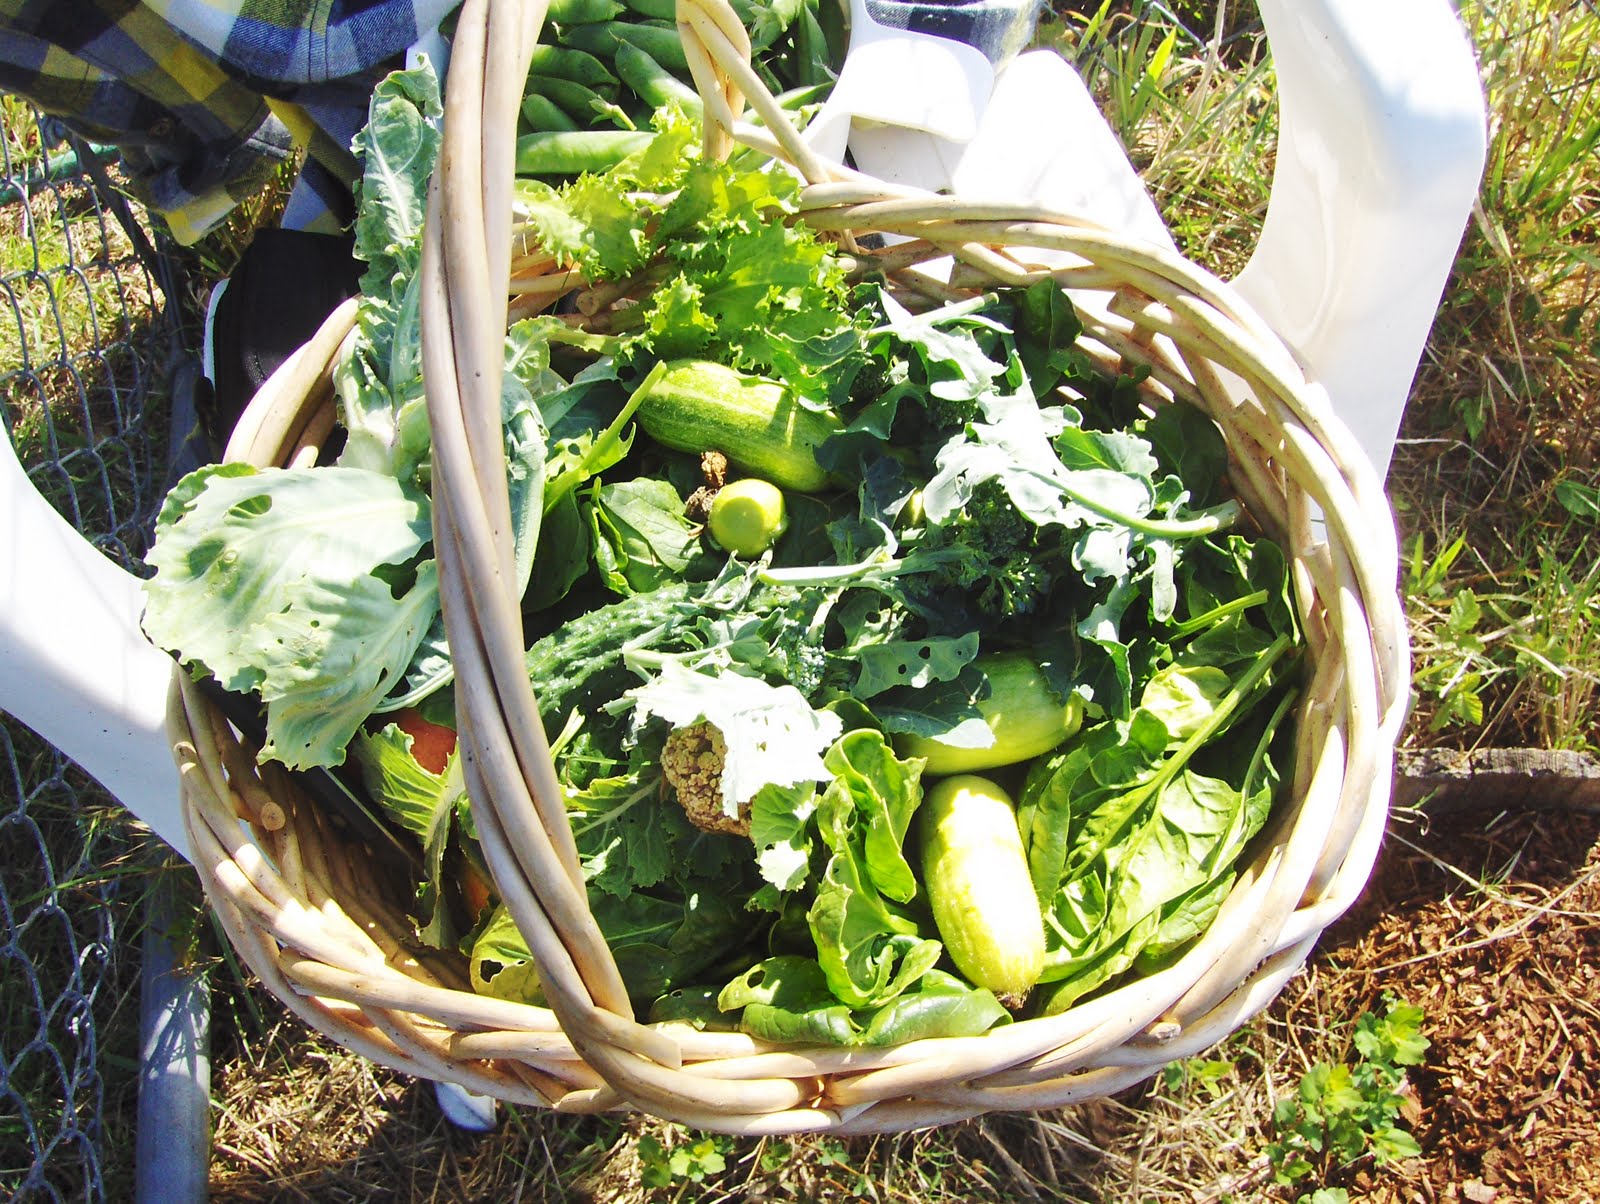
You'll pick up a great bag of string beans one day, asparagus the next, and you can't possibly eat all the goodies you bring home. With a bit of time, and with simple tools and supplies, you can preserve the rest for those rainy days.

Tools: pot, scoop, colander and bowl with iced water, cookie sheet covered with wax paper or parchment paper, quart size plastic bags for freezing.


Step one: Put a pot of water to boil. I cook mine in batches. You can cook all at once.

Step two: Boil the greens for two minutes.

Step three: Scoop and drop in a colander set atop ice water. Cool and Drain.

Step four: Lay wax paper on a cookie sheet and spread your drained produce in one layer.

Step five: Freeze for a few hours.

Step six: Divide and bag the frozen produce. I bag mine as individual servings.

When ready to cook: Drop the frozen vegetables in a steamer and steam for two minutes or until tender, and then proceed with your usual recipe. 

Saturday, May 21, 2011

Preserve the freshness.

Those of you who grow your own food know that one minute you are hoping for a harvest, the next minute you have too much to deal with.

Right now in my garden I have these tiny artichokes that are just right for eating.  Here, I've cut them in half, removed the outer leaves and boiled them in acidulated water for ten minutes.

Then, I'll drain them and preserve in two different ways:

1. Freeze
2. Pack in olive oil.

If you pick them young, you will have less waste and the choke, the middle part that is spiny and not edible is not a problem at all in tiny chokes. If it is,  pull out after the chokes are cooled.
Here is how I like to serve them:

Fried artichokes:

Defrost the chokes or pull them out of the pack.
Pull each leaf off.
Dip in your favorite (beer for me) batter and then fry in olive oil until golden.
Serve as appetizer or a side dish with lemony mayo.